Build videos of Tamiya’s 1/48 scale model Spitfire Mk.1 (2018 tooling – reference 61119)
Part 1 – Starting the Build
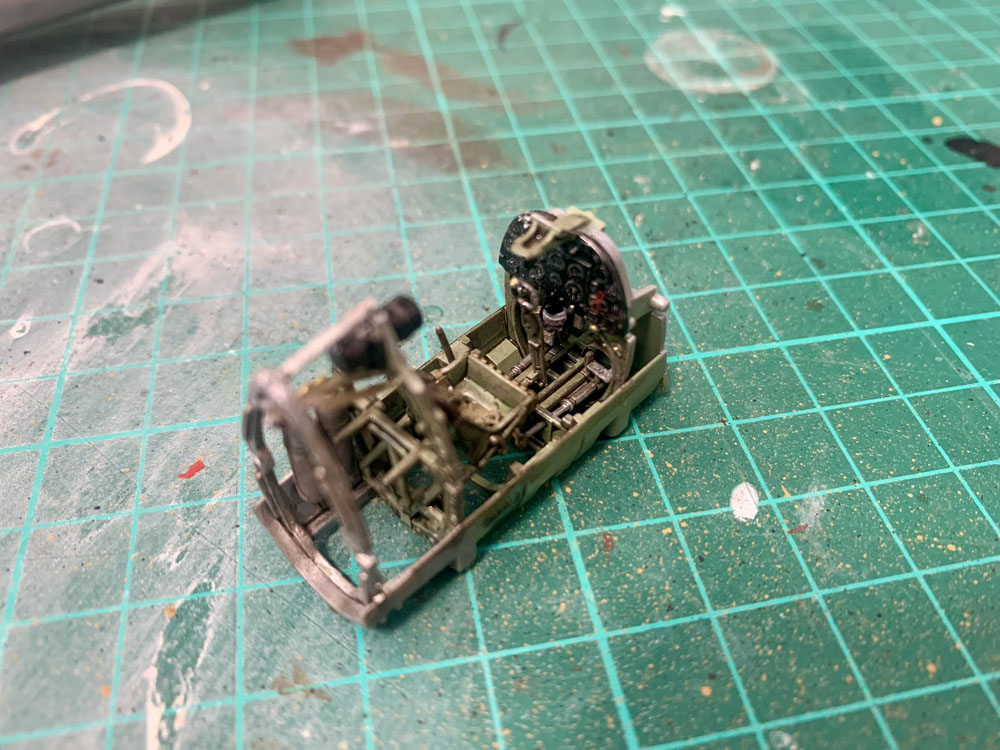
As with most kit this focusses primarily on the cockpit, which is highly details for a plastic moulded kit in 48th scale. The kit also includes a small (unpainted) photoetch fret enabling extra detail to be added to the cockpit (and other areas), such as the straps for the harness.
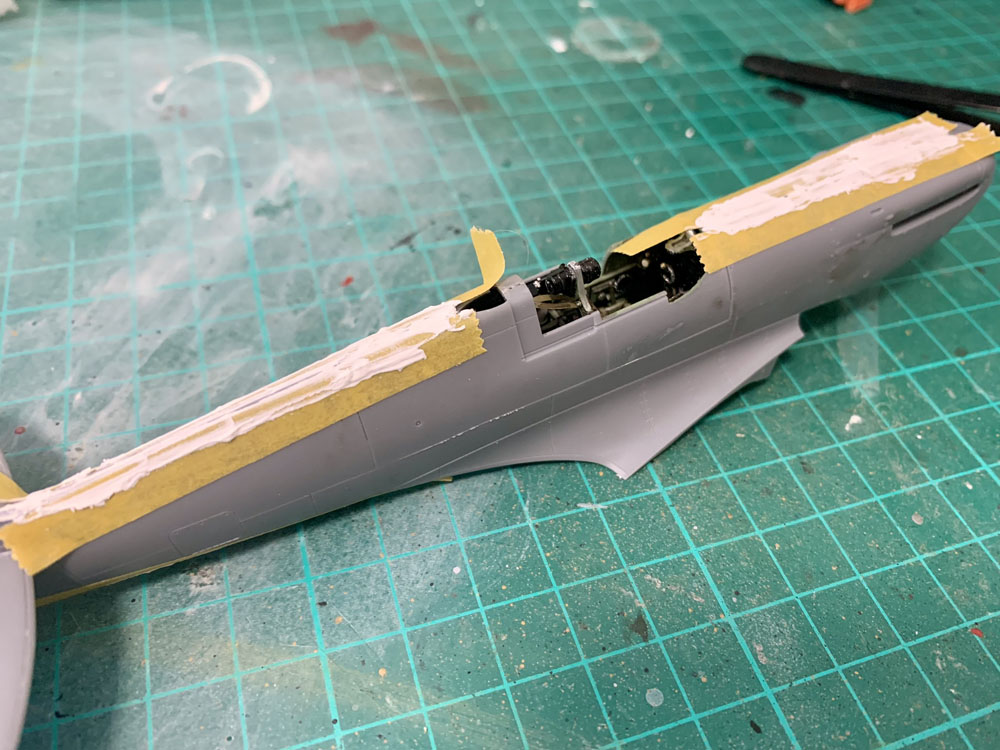
Once the cockpit is complete the fuselage halves are brought together.


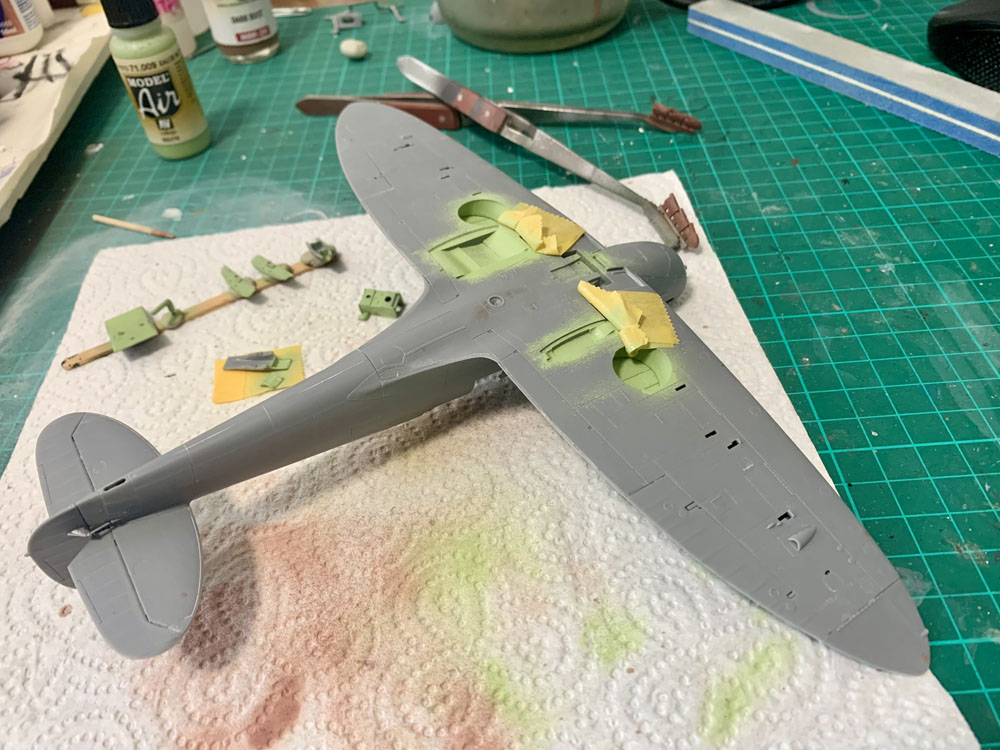
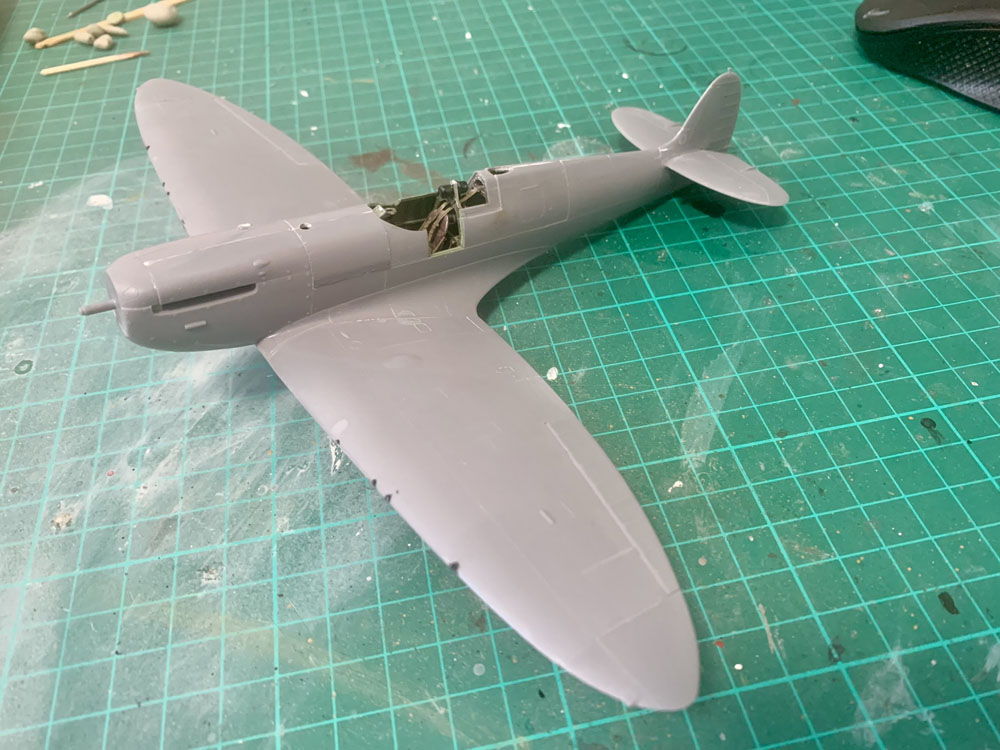
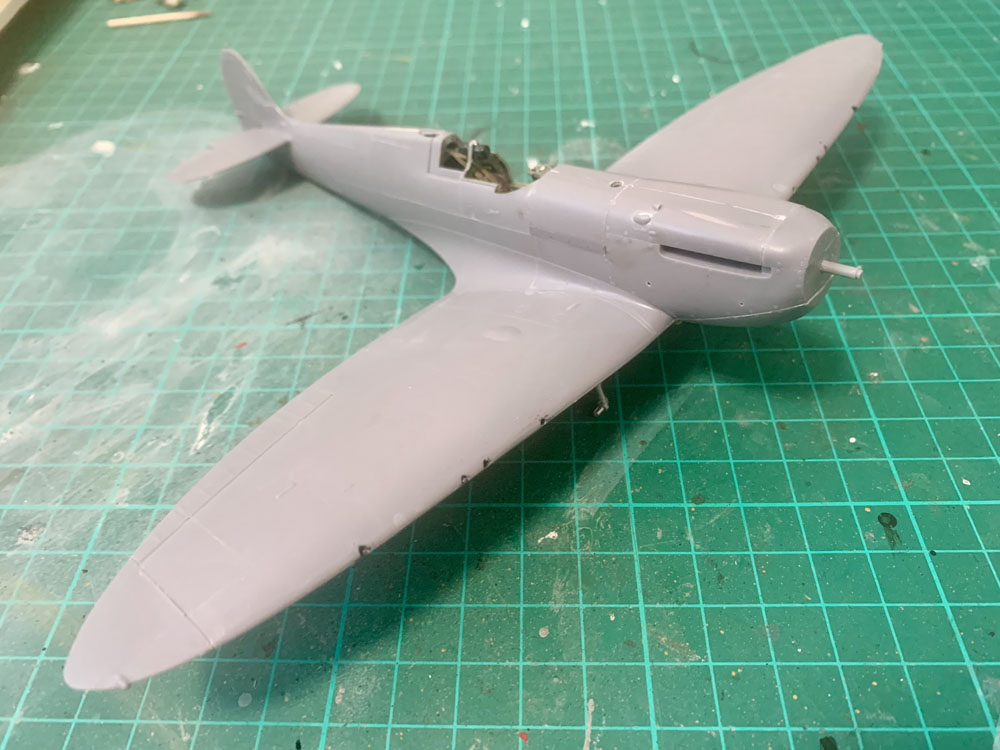
Part 2 – Completing the Main Build
This involves putting on the wings, filling and removal of joins, putting on the further lumps and bumps; before getting it ready for priming and painting in the next part.

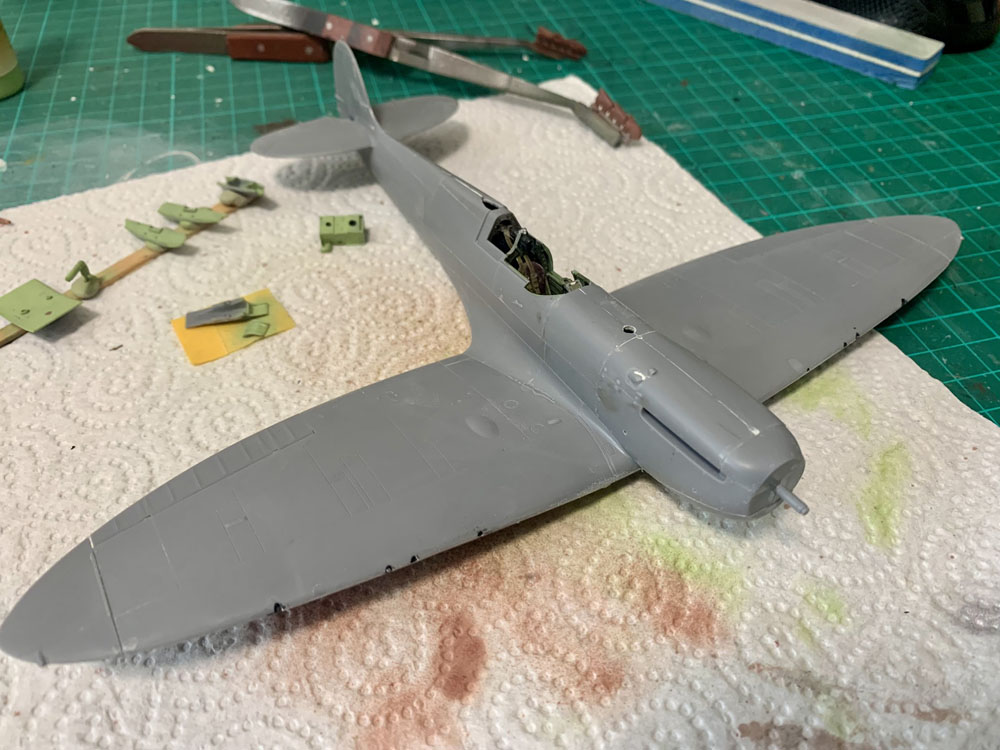

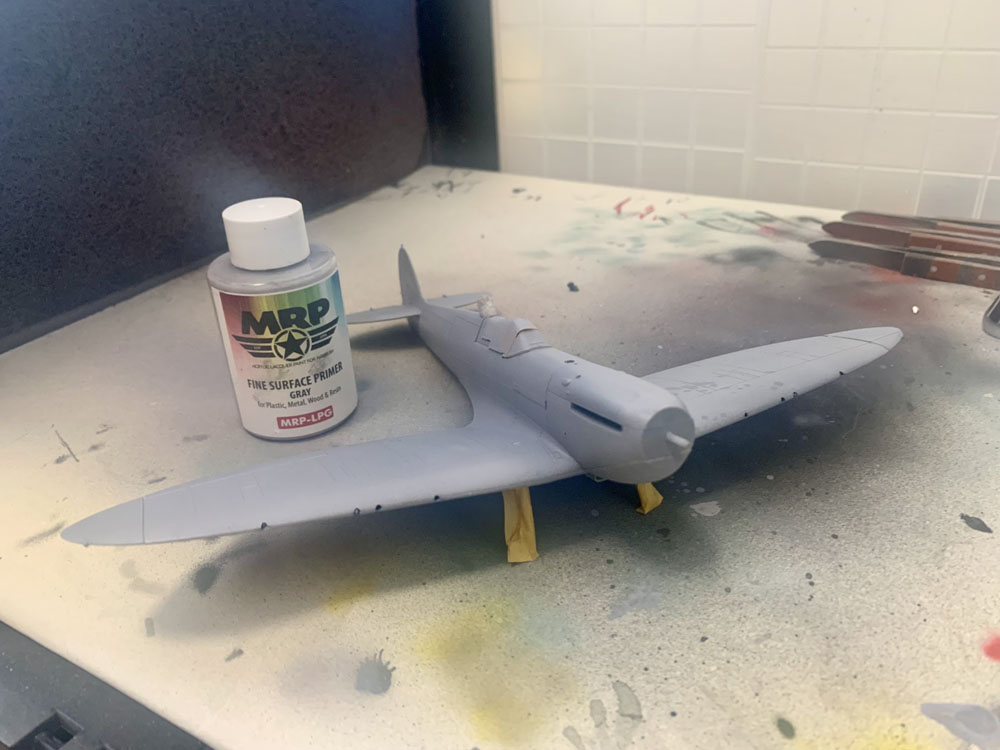
Part 3 – Priming and Pre-Shading
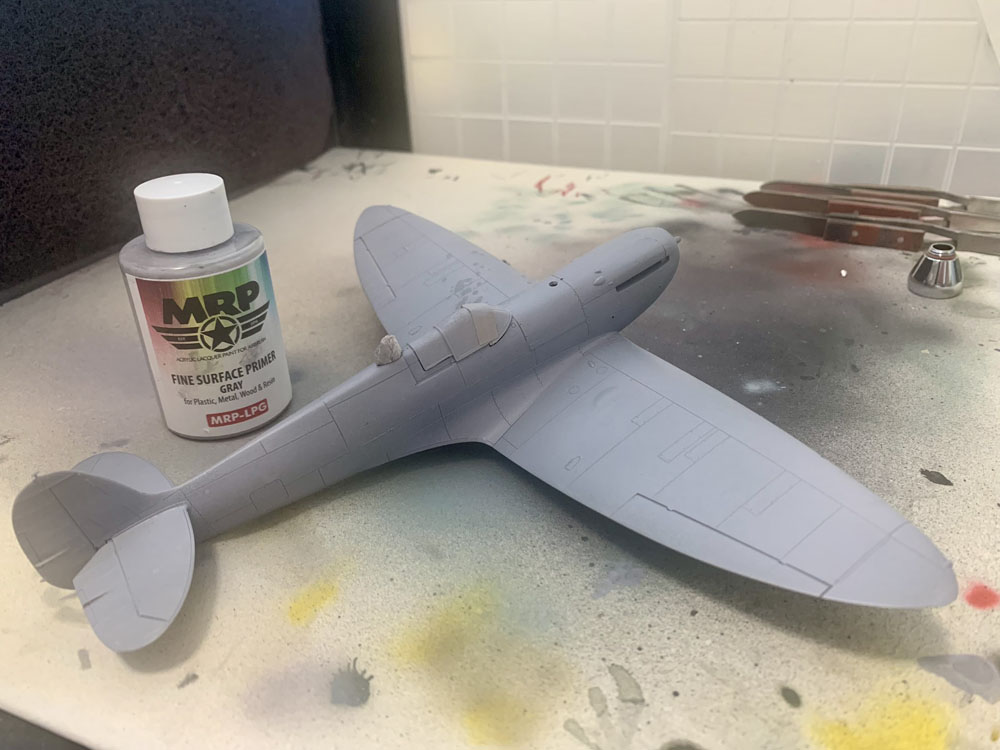
Now the main build is complete it’s time to start painting the Spitfire.
This starts with priming the model (using MRP grey primer). Next panel lines are highlighted with pre-shading to give depth and shadow to the paint (using Vallejo ModelAir Nato Black – because that’s what I had to hand).


Part 4 – Painting Camouflage and Gloss Coat
The main paint scheme was painted using Vallejo ModelAir paints, from the WW2 RAF box set – which makes sourcing the paints easier. I masked using the “Blu-Tak Worm” method, and lots of Tamiya tape. I did make a mistake but fortunately that was easy to correct.
Once the paints had fully cured they were sealed using Pledge Floor Polish to give a glossy surface for decals and weathering to be applied over.


Part 5 – Decals, Detailing and Done
Once the gloss coat (Pledge Floor Polish) had cured I used a piece of scrunched up kitchen roll to give it a buff, which gently smooths the polish off to give a better surface for the decals to go on.
Tamiya’s decal are quite thick, with good colour. They go on well after a soak and their thickness allows them to be maneuvered into position without tearing. However, repeated uses of decal softener was needed to achieve the ‘painted on’ look and let them bed down into recesses and conform to bumps. Care needs to be taken to do them in order (stencils first, then markings) but fortunately two cuts with a craft-knife easily rectified the error.
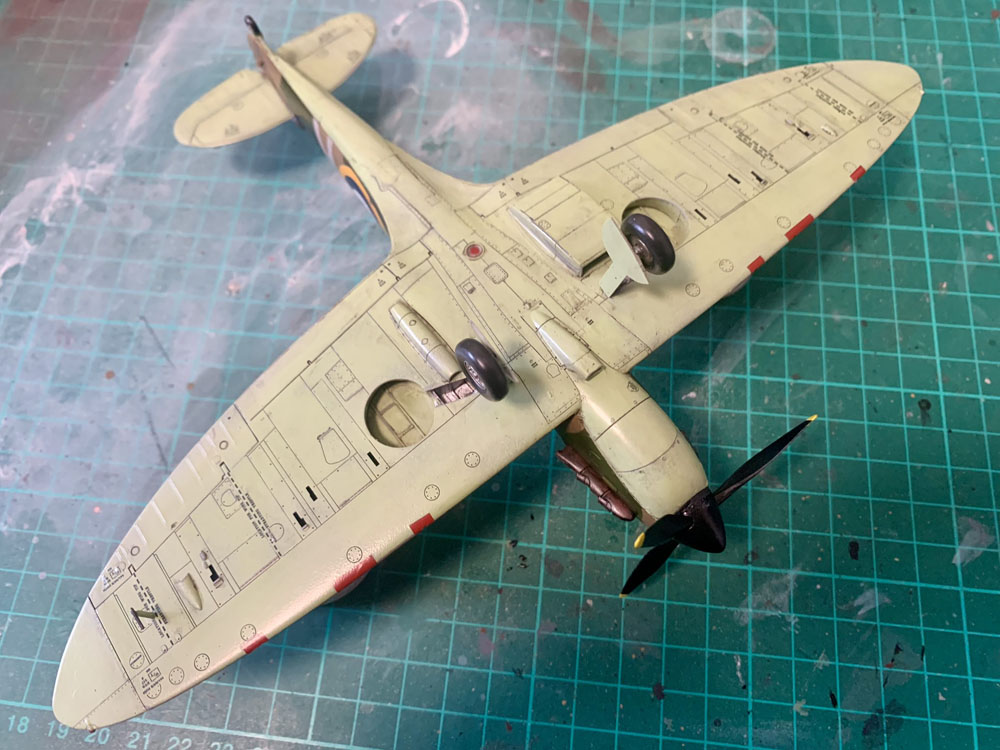
The result was a good looking and clean Spitfire Mk.1. I decided on light weathering to highlight the recess moulded detail, and used Tamiya’s Dark Brown Panel Line Wash. This is dotted onto the recessed detail and capillary action draws the solution around. After a few minutes this is wiped off, leaving the wash in the recesses. This really makes the detail pop out and adds a shadowing effect.
The other bonus to using the Dark Brown wash is once wiped off it still leaves a light coat over the model, creating a natural filter and knocking back the newness of the model, without resorting to further weathering. Using white spirit can clean areas that look too dirty.
Further weathering was done using oil paints that were dotted onto areas and gentle rubbed in and streaked. This is an area I feel I still need to work at, but it helps to break down the monotone areas of green and brown by adding subtle variation, but really comes into its own when adding smoke from the engines, and especially the guns.
Elasticated thread was used for the aerials, which really do give a finishing touch to the model.
Overall I remember not really being too impressed by the kit when I first opened the box to review it, but it wasn’t until the model came together and the wash applied that all the fine details popped into view – though it much of the build process (and detailing using the photoetch) is confined to the cockpit. Fortunately with the canopy back and access door open the cockpit is visible so little of that effort is wasted.
It looks good on the shelf, and sits nicely next to the Tamiya BF109G I previously built, and I deliberately used the same brand of paint and weathering techniques for consistency.