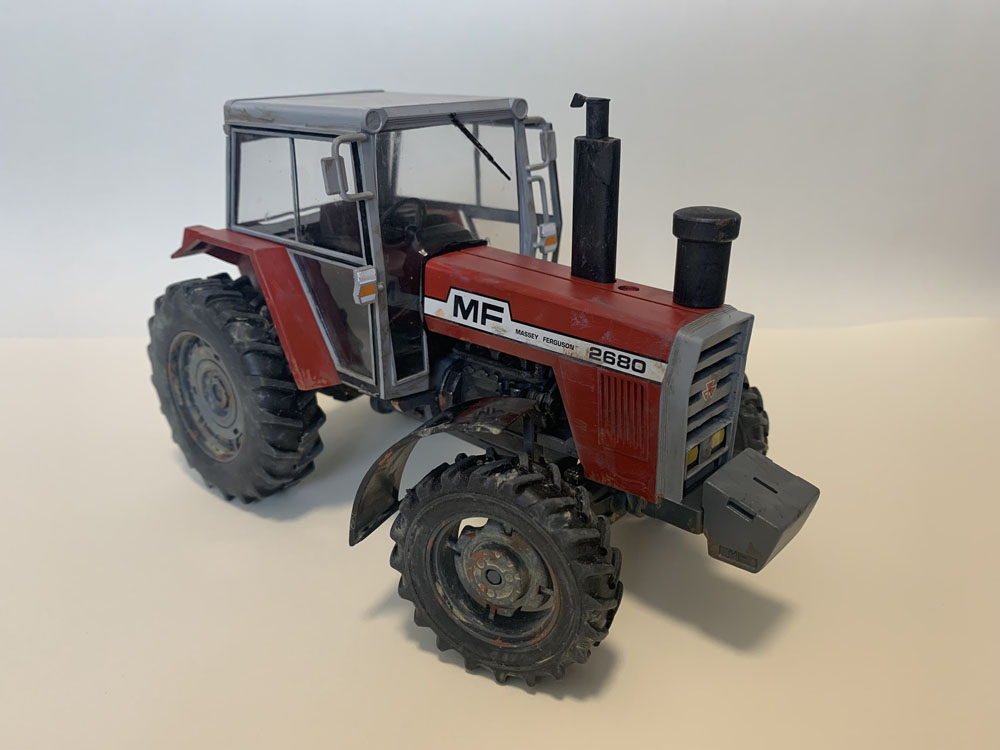
Photo build of Heller’s 1/24 scale model Massey Ferguson 2680 Tractor, reference: 81402.
Read and watch my kit review of Heller’s Massey-Ferguson 2680 in 1/24 scale.
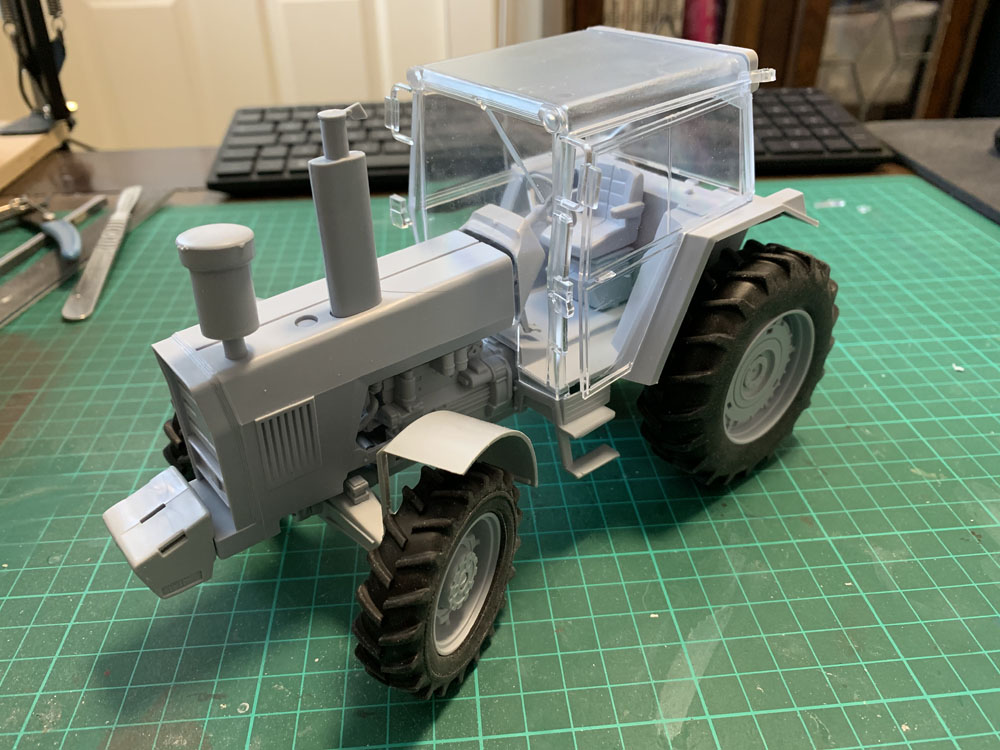
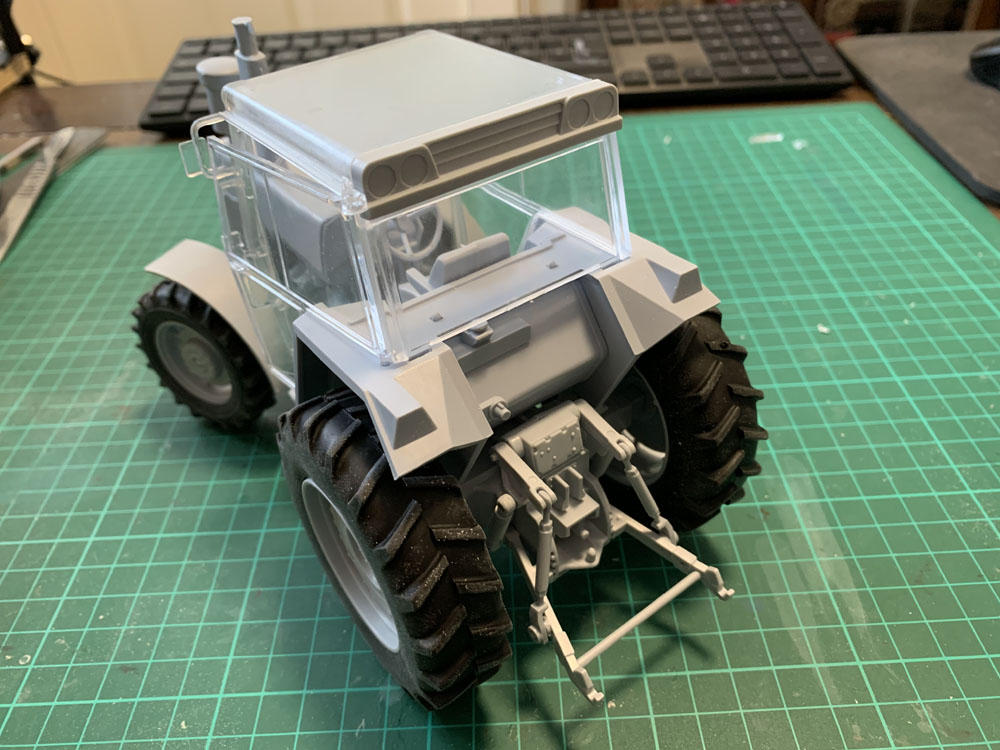
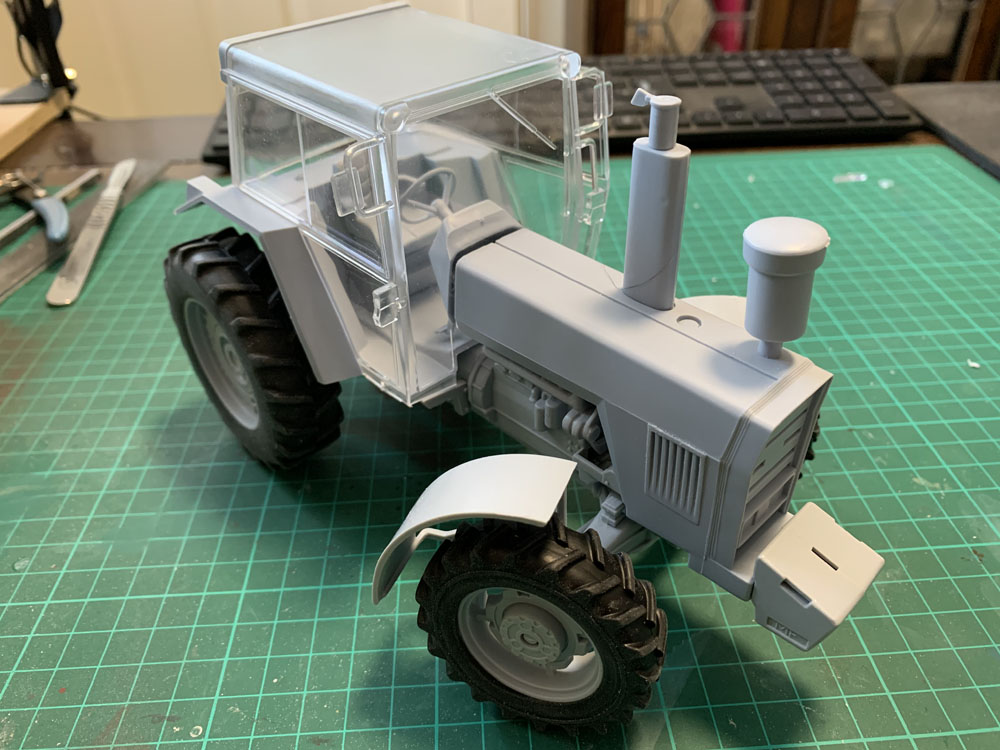
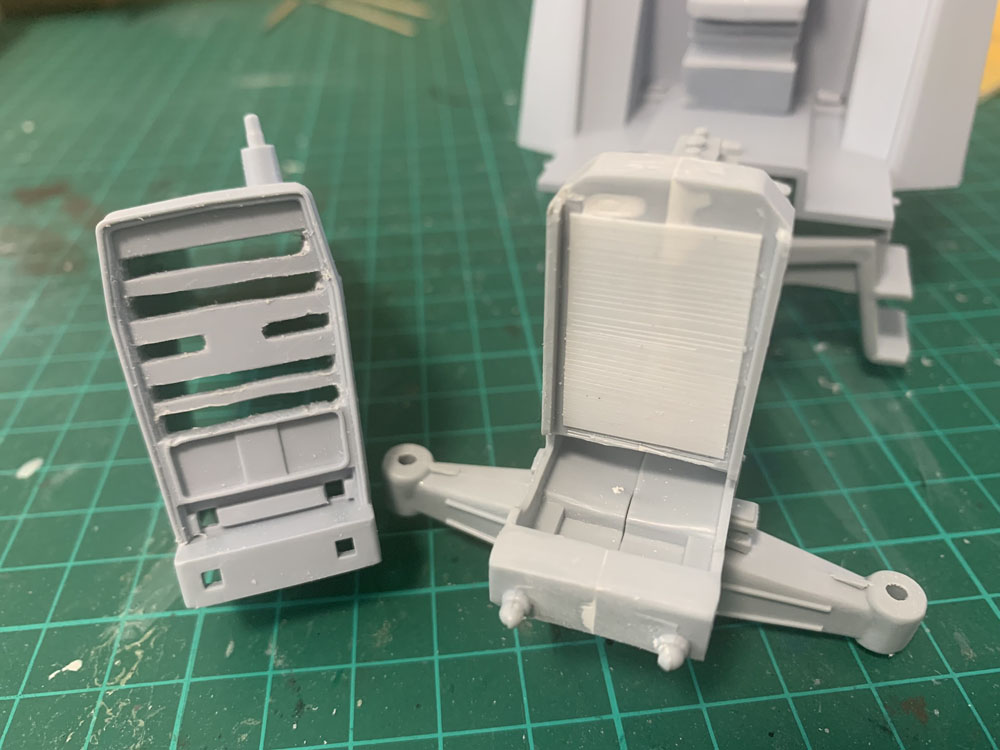
After doing the kit review I was having a “play” and removed the parts from the sprue, and as it was obvious parts were designed to essentially snap together without glue I decided to remove them from the sprue. Though I didn’t put much effort into filing down the whole kit could be built without glue – which gave a good indication of how the finished kit would. Crucially it allowed me to see fit issues and where work would be needed.
It should be noted that I didn’t push all the parts together where I thought things could get damaged when separating again, especially on the wheel hubs. Though not obvious in the pictures it was clear the seam lines running down the length of the chasses and engine block halves were going to need a lot of work, as well as the counterweight on the front.

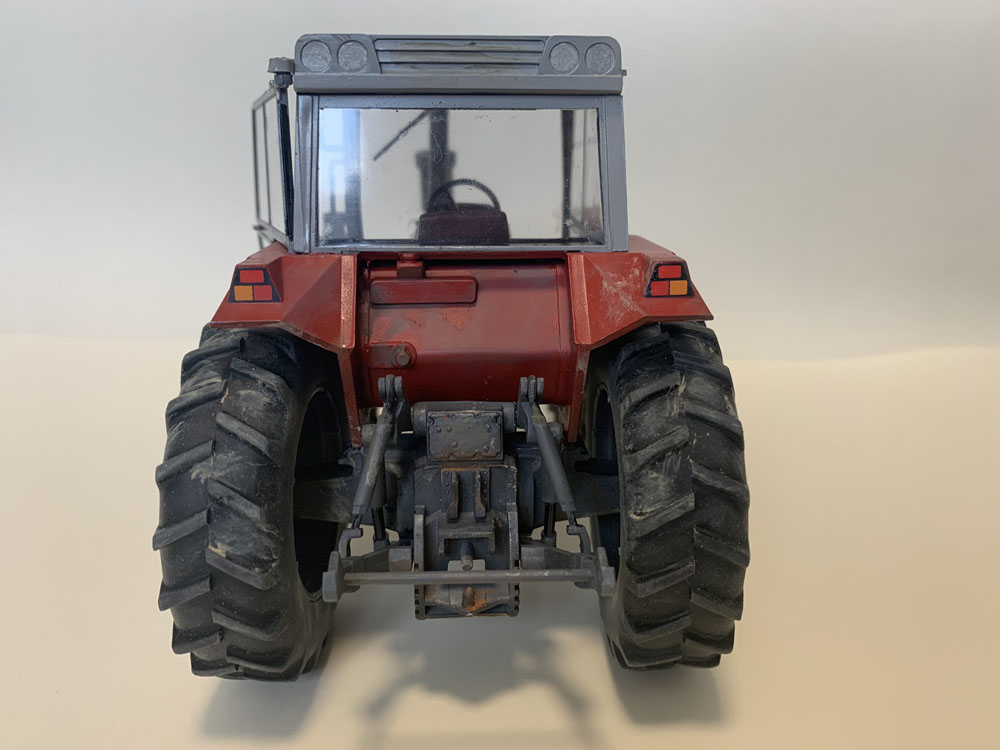
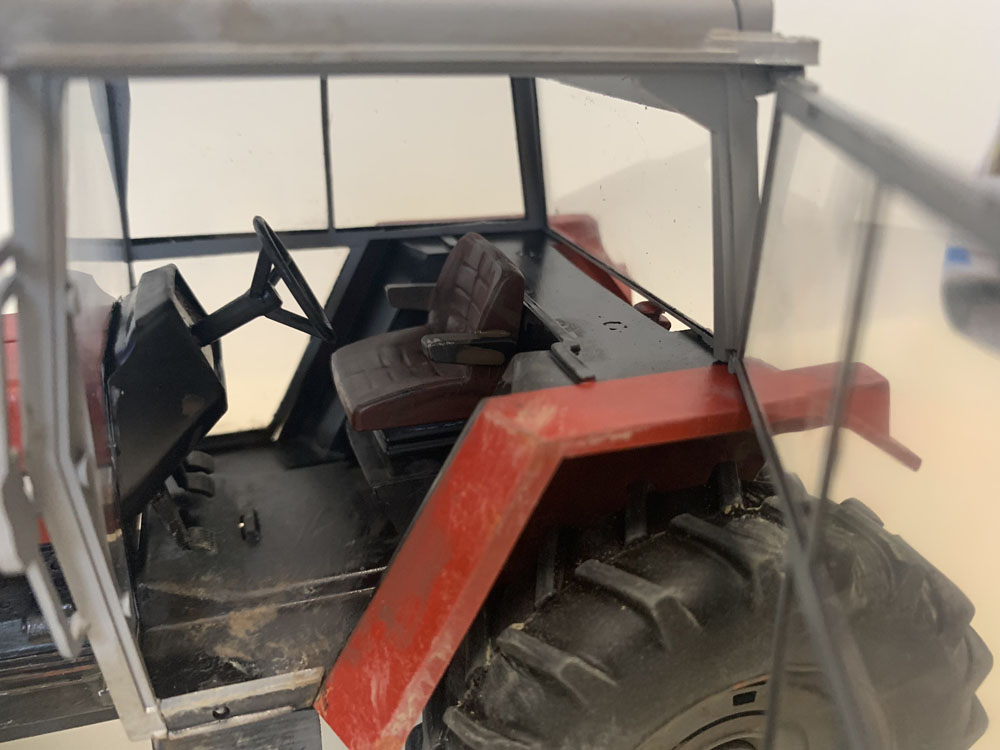
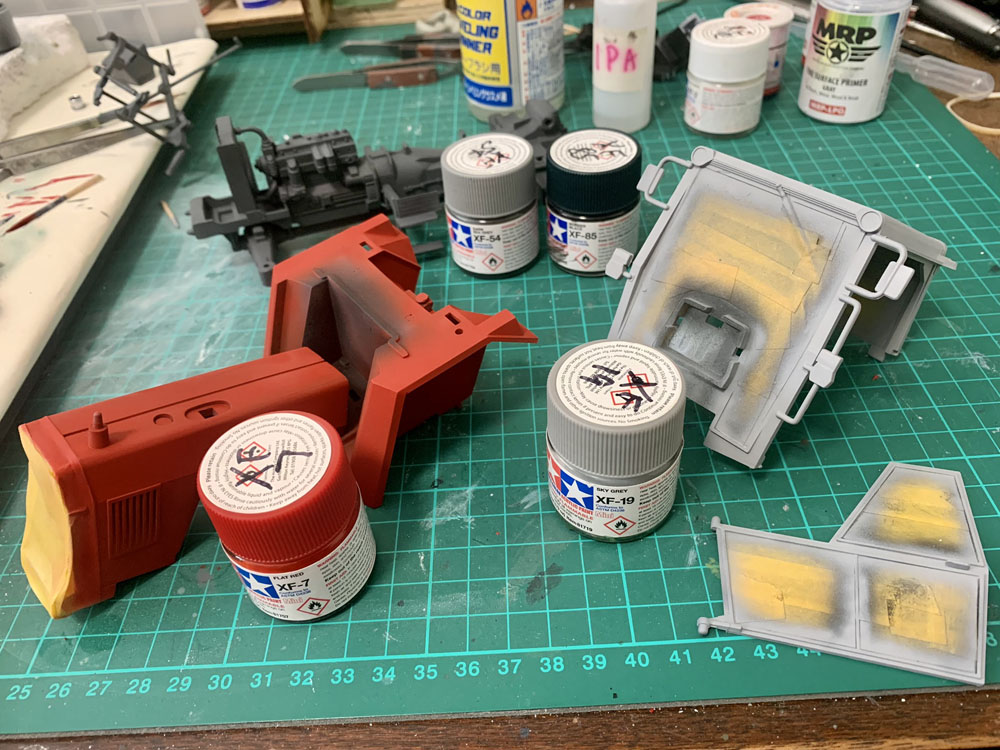
Lots of filler and sanding was required. I decided that priming using a black primer would be good, and before I could do that I needed to mask the cab. The cab was cast in one large clear piece, with a second piece for the large door. The windows are large so lots of masking tape was used, but not all the corners are square so care is needed. And because of the access and visibility it required masking on the inside too (unlike a canopy of a jet where the interior colour can be painted first on the outside.
Before priming I also decided that the front of the grill needed opening to allow visibility of the radiator. And the massive seamline down the front of the radiator dictated that a new front was made from a rectangle of plastic that I scored horizontally so once painted metallic iron it could be dry brushed with a lighter colour, then a darker wash applied to reveal the texture. However – this extra detail is pretty much impossible to see on the finished model!
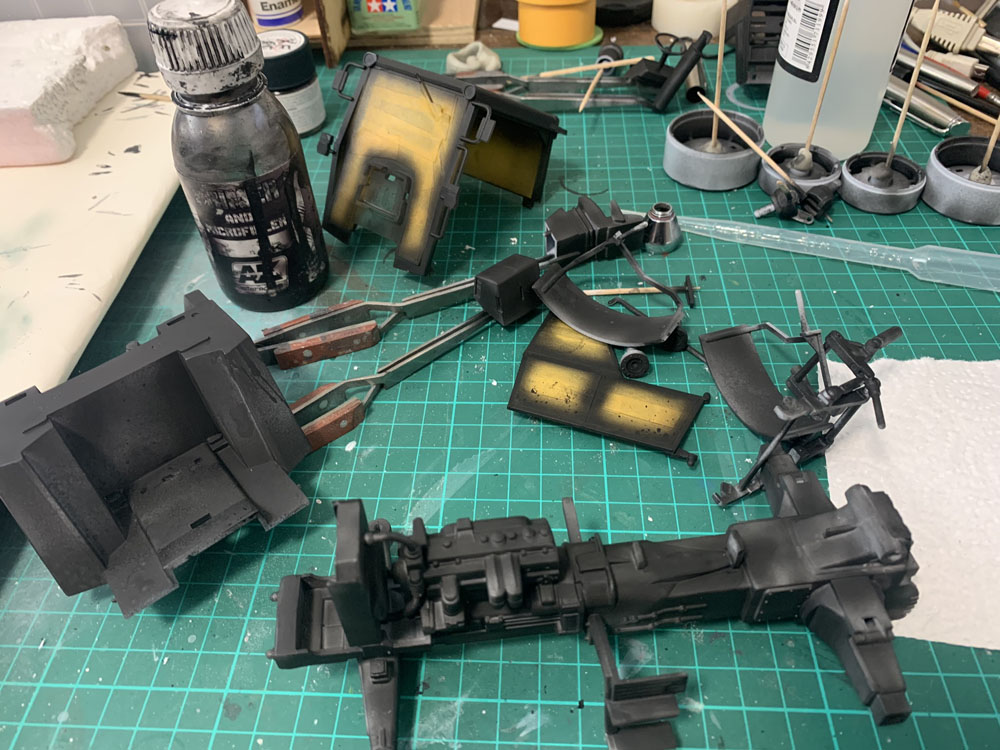
Everything got a coat of AK Interactive black primer. I ensured this had a good coverage on the cab (especially roof), bonnet, wheel arches and rear. These parts are to painted with a glossy red so want a smooth surface. Likewise with the front mudguards that will remain black. The chassis, engine block and wheels could be a bit more patchy before the grey is painted on, as this would have a more ‘agricultural’ feel to this heavy iron and steel.
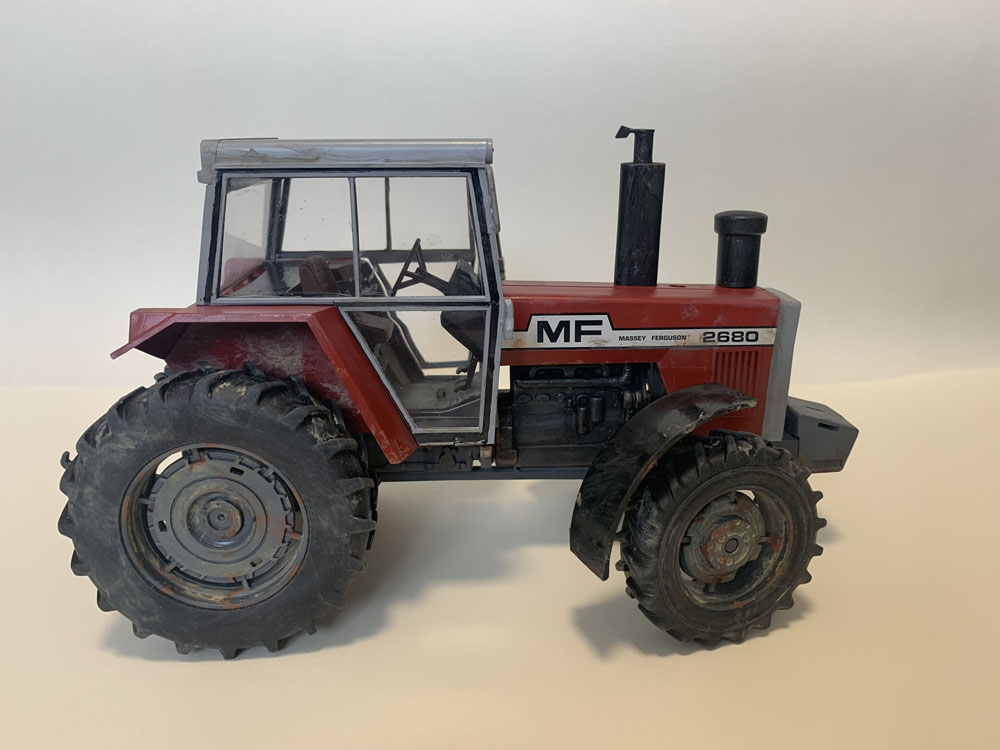
Tamiya XF-8 Red was used for the red work. Granted, this is flat, but went down more consistently than some of other reds I first tried, I could them enhance the flat finish with a gloss varnish later. Tamiya paints were diluted with 99% IPA.
The cab was painted with a lighter grey, Tamiya XF-19. However, before this was applied some parts of the black primer was masked for the lining.
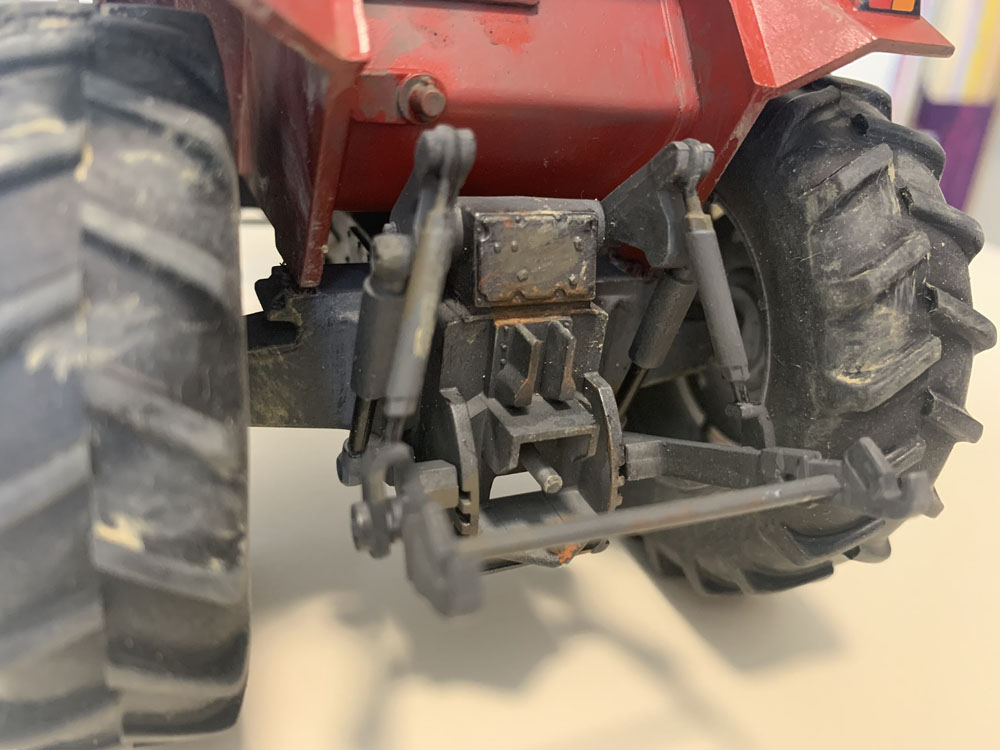
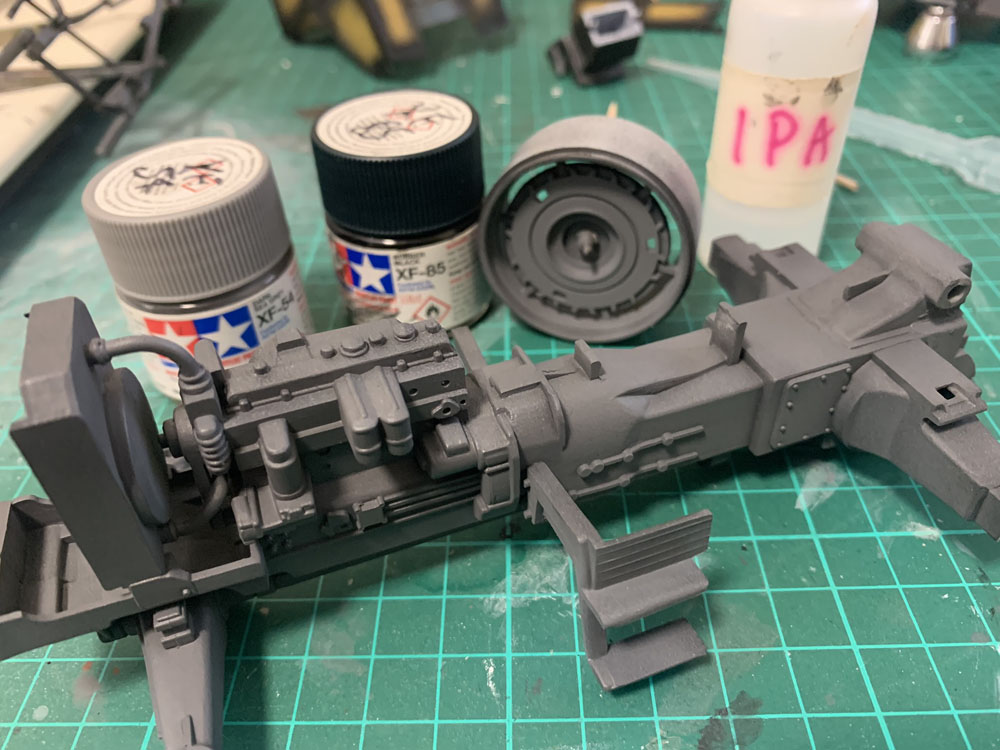
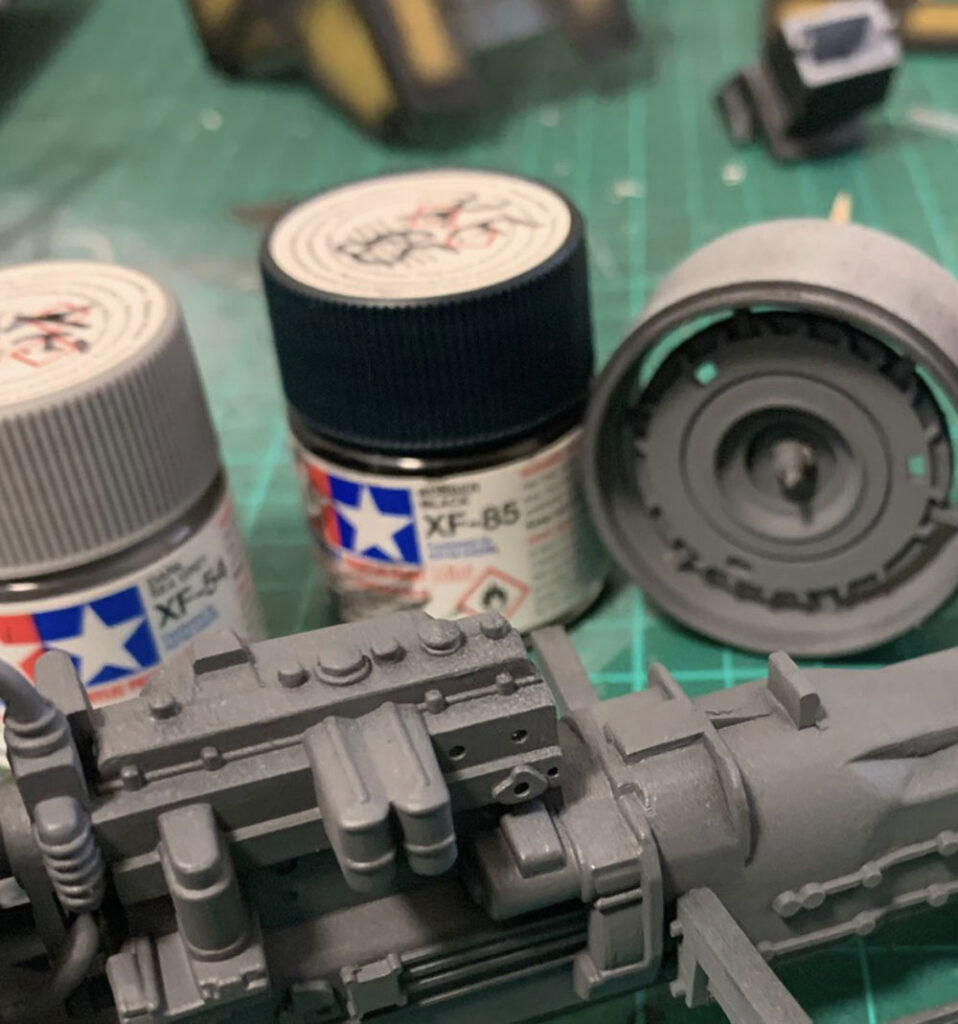
I used Tamiya XF-54 Medium Sea Gray for the chassis and wheels, painting the engine block with Mr Metal 214 Iron, and dry-brushing with Mr Colour 8 Aluminium. If I had the time, patience and inclination further detail could be picked out with colours, and wiring added.
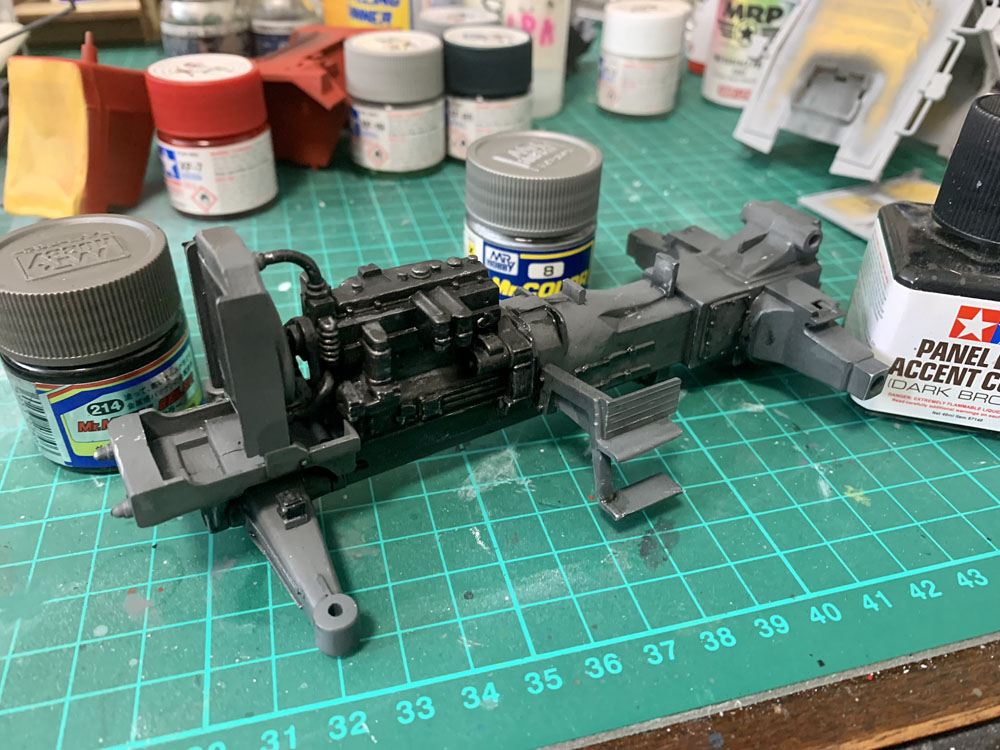
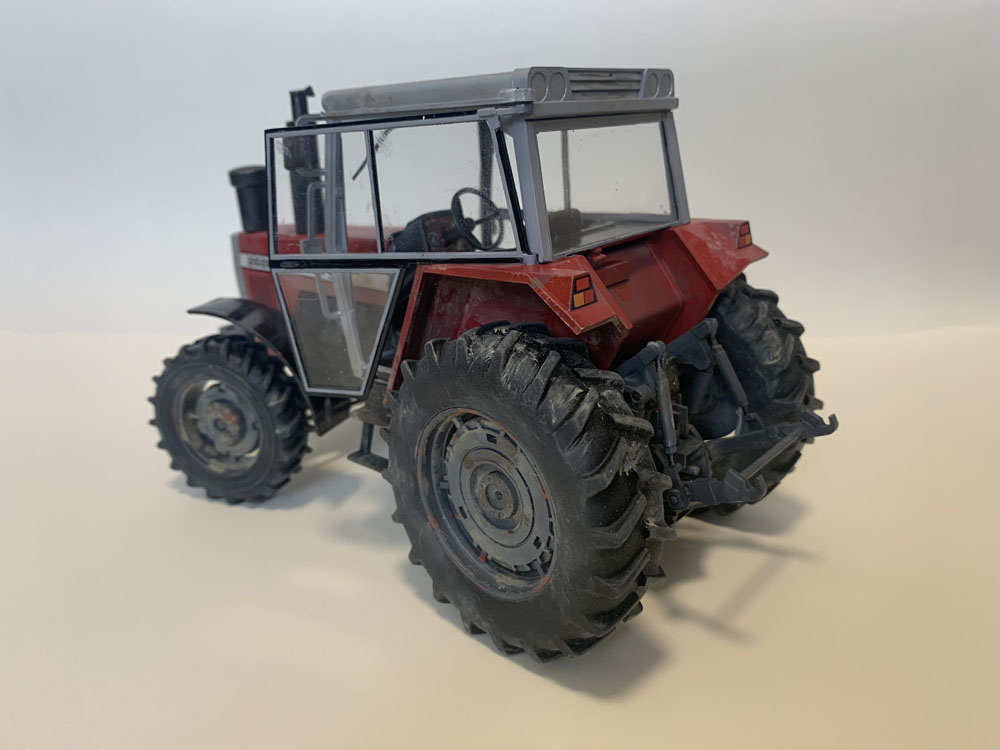
Everything was glossed, and as discussed the parts literally click together, though glue was used to create stronger joins and eliminate gaps by directly bonding parts together. I did remove the part of the exhaust where it attached to the bonnet, as it didn’t look ‘right’ on the spindly attachment point.
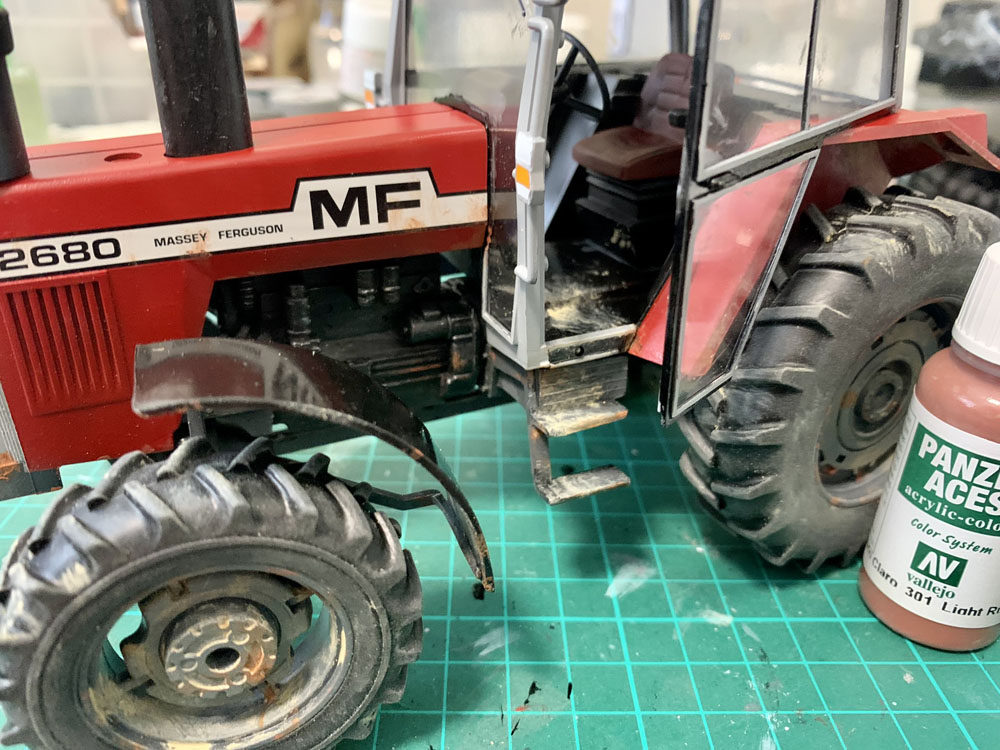
There weren’t many decals, any they went down well. One thing I should have done in hindsight is to put some clear acetate squares over the lights which would make it much more realistic (and I guess I could still do!)
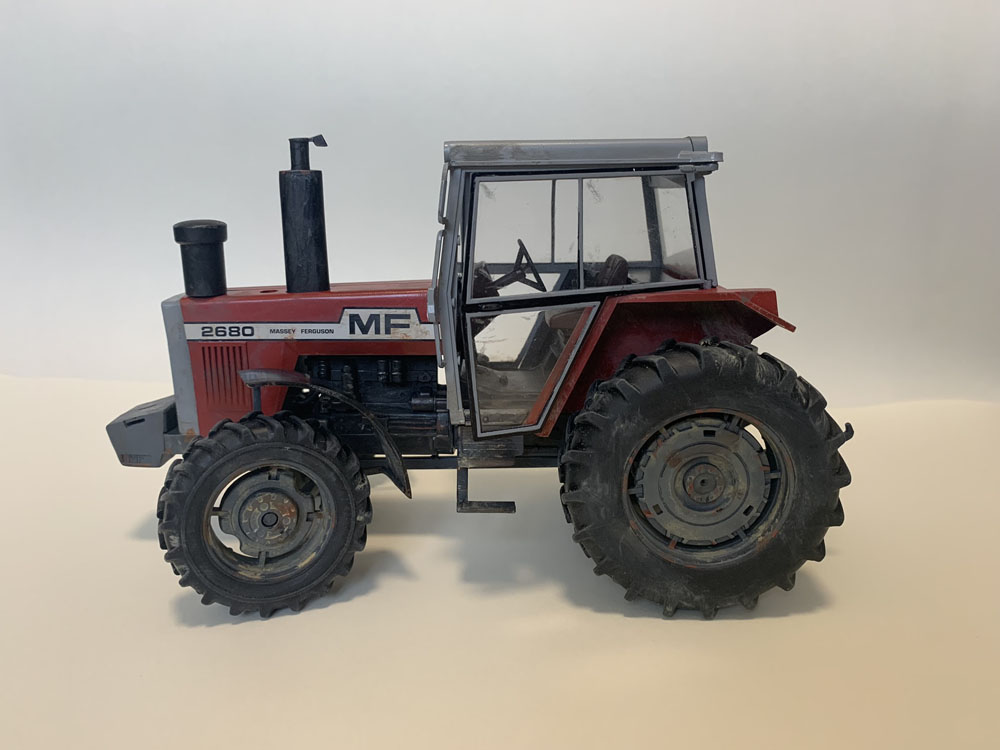
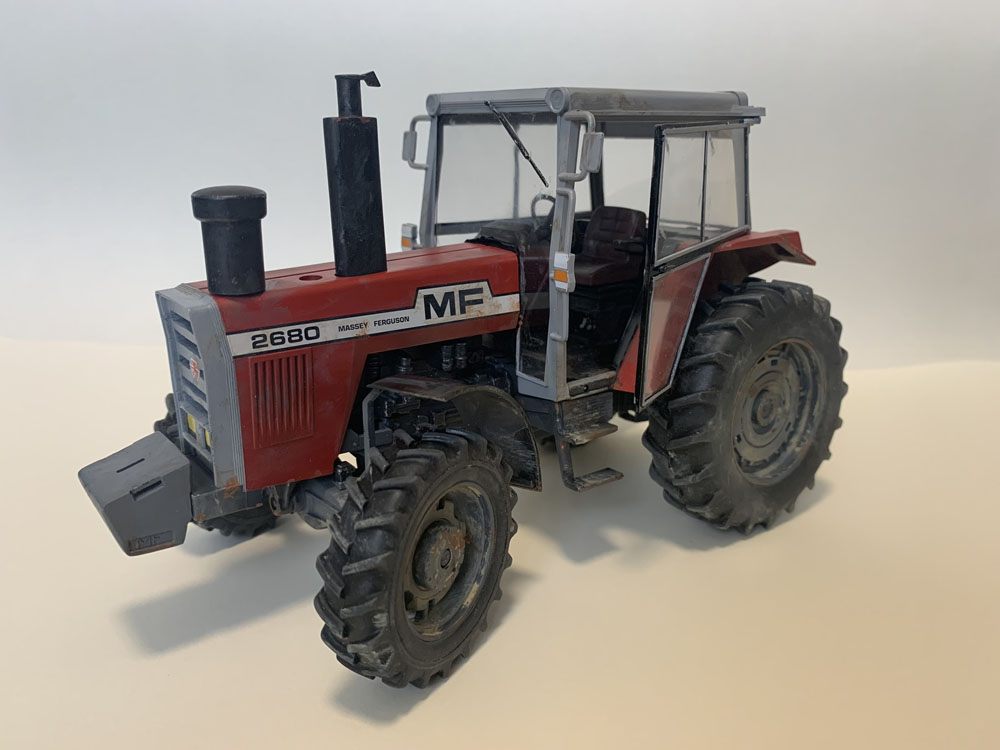
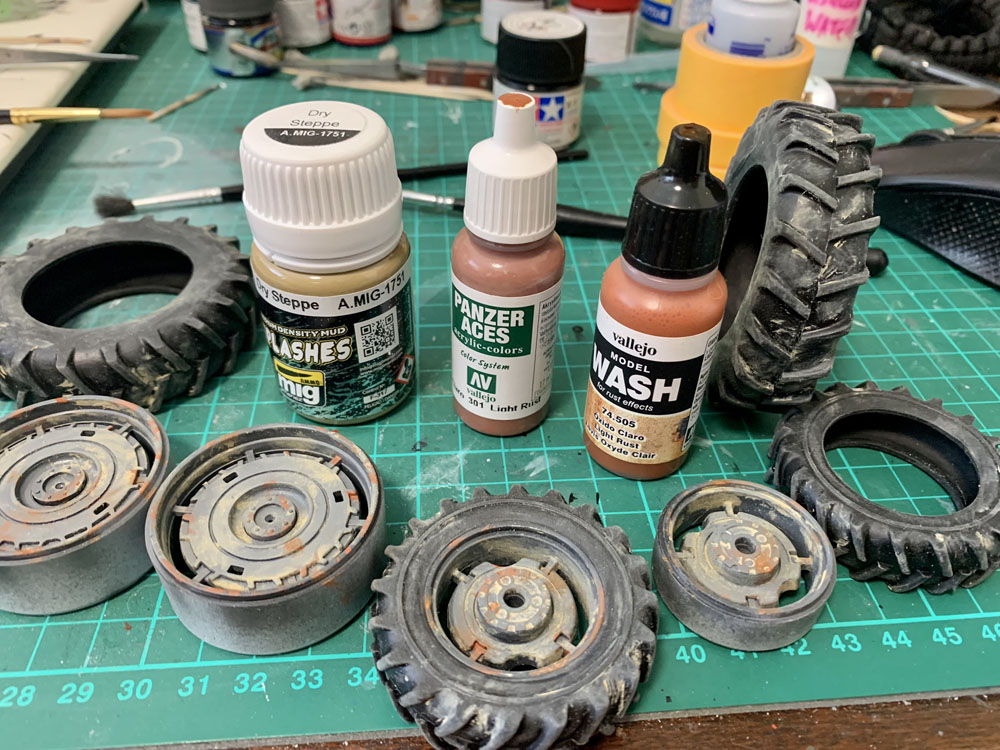
Though tempting to go crazy with mud, rust and weathering; I decided to keep it relatively clean, but worn and used – though maintained. Definitely not showroom condition.
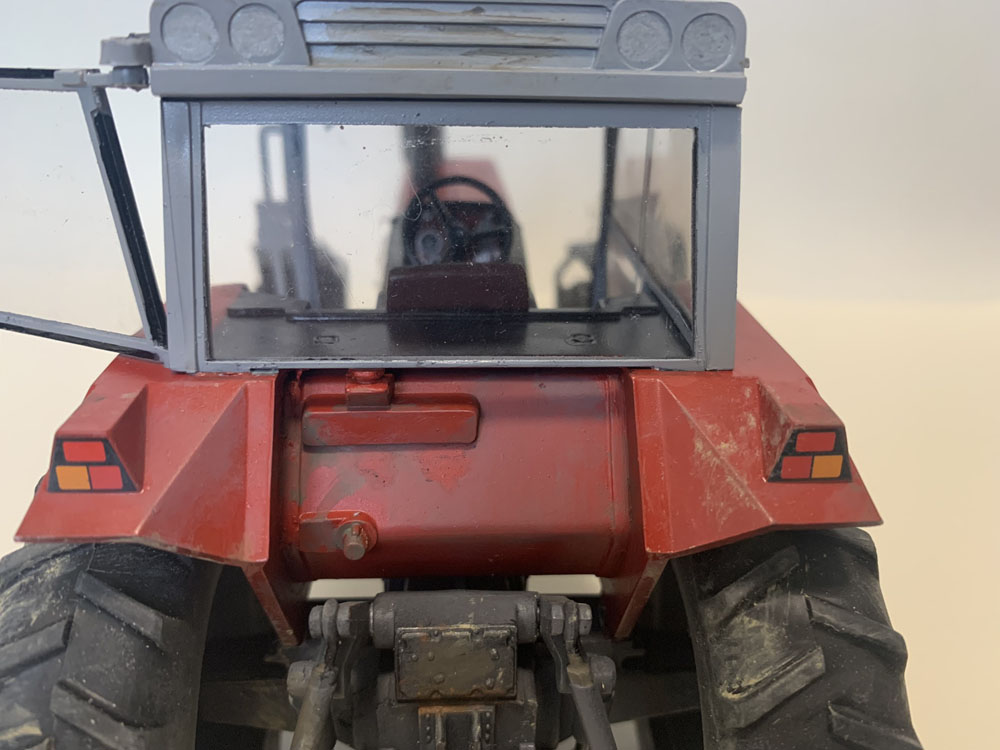
I decided focus most of the weathering on the wheels, where they will gather the most mud, and hence rust quicker than other parts. On the bonnet I put a few rust patches, likewise on the equipment attachment points on the rear and other high wear areas on the chassis. Mud and wear was put in the cab were muddy boots would trudge in and out, and a general bit of wear on the roof where it’s exposed to the elements.
I used a combination of enamel based AK Interactive and acrylic based Vallejo products for the weathering. Using a little of each and working it in to build the effect up.

It can’t be denied it was a quick and simply build, and building from the box does give a good, but basic, representation of a Massey Ferguson 2680 tractor. However, work is needed to cover seams, and the various attachment points of the quick-snap mechanism. And with much of the engine being exposed it’s ripe for scratch building and adding wiring harnesses, etc. And if you want to go to town on weathering (or just try out some new techniques on a basic kit) then a 1/24 tractor is a good test bed.